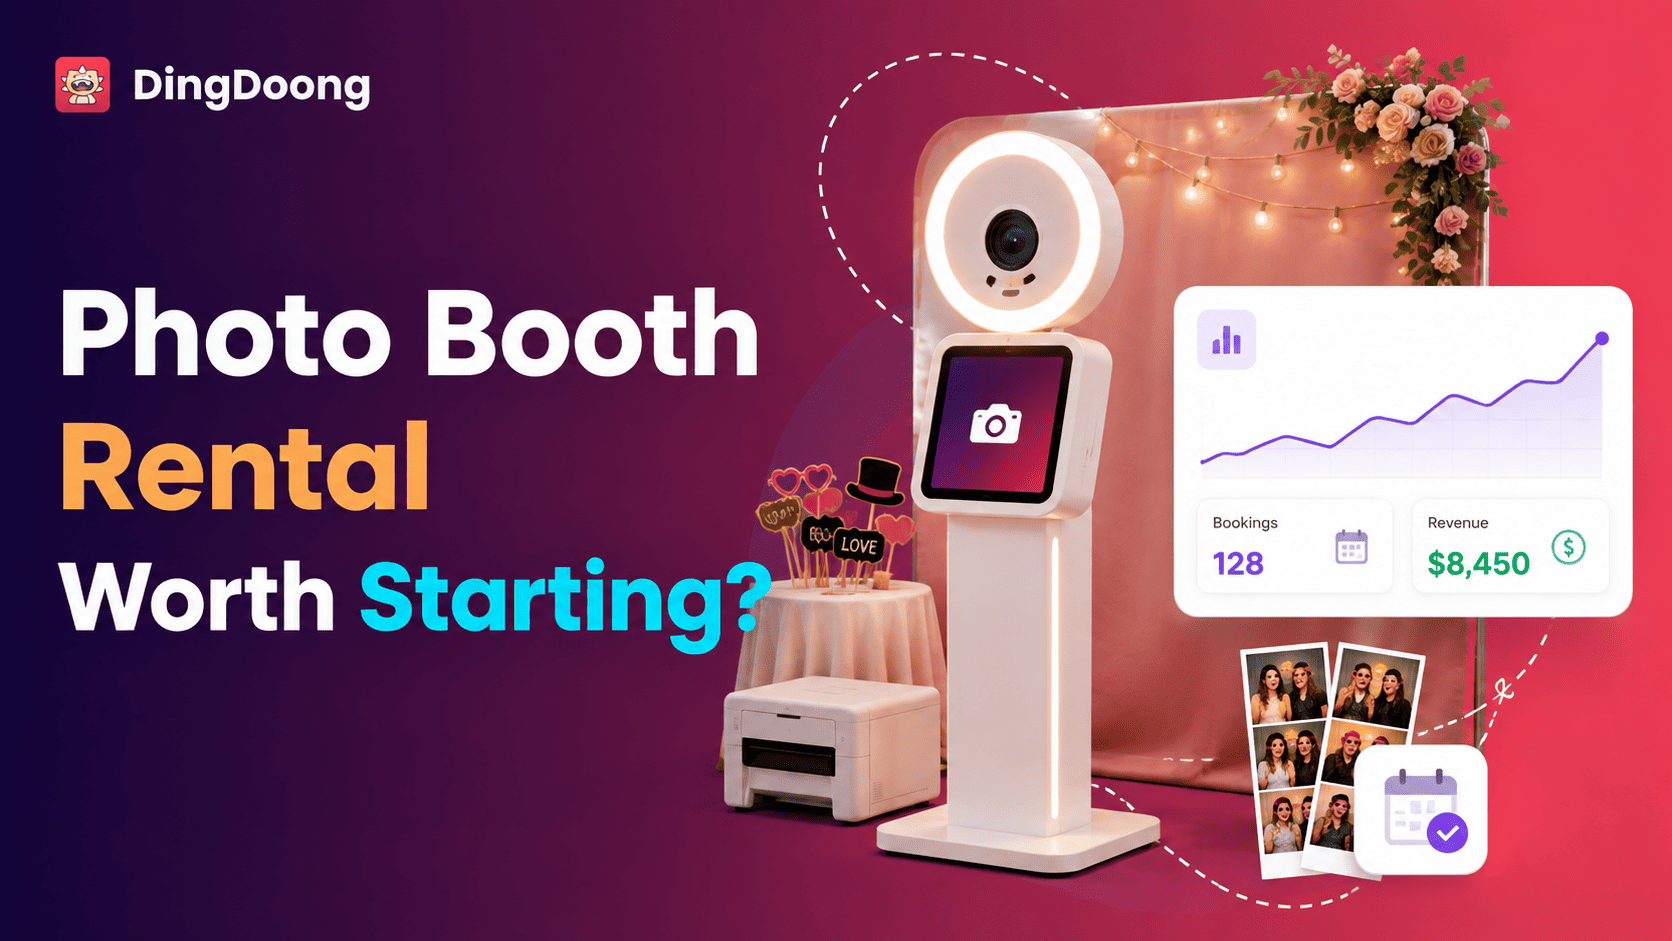
Starting a photo booth rental business can look simple: buy a booth, book events, and charge by the hour. But the real work begins before the first guest steps in front of the camera. Booth type, local demand, pricing, transport, insurance, backup equipment, and booking management all affect whether each event makes money.
This guide explains how to choose equipment, calculate startup costs, price packages, manage bookings, and build a reliable business.
Is A Photo Booth Rental Business Worth Starting?
It can be, but the booth itself doesn’t create a strong business. The result depends on local demand, sensible pricing, reliable event service, and enough bookings to recover the startup cost.
Weddings offer one clear demand signal. About 2 million U.S. couples married in 2025. They spent an average of $34,000, invited 117 guests, and hired 13 wedding professionals, according to The Knot Worldwide’s 2026 Real Weddings Study. Photo booths also serve birthdays, graduations, holiday parties, brand activations, fundraisers, and conferences.
That large event market doesn’t guarantee demand in every city. A new operator still needs to answer three local questions:
- How many suitable events take place within a practical travel area?
- What do existing providers offer, and what do they charge?
- Which customer group has an unmet need that a new booth can solve?
The model works best when the same equipment can earn revenue many times. It becomes harder when the booth sits unused, travel is too wide, repairs stop bookings, or low prices fail to cover hidden labor.
Understand How The Photo Booth Rental Business Makes Money
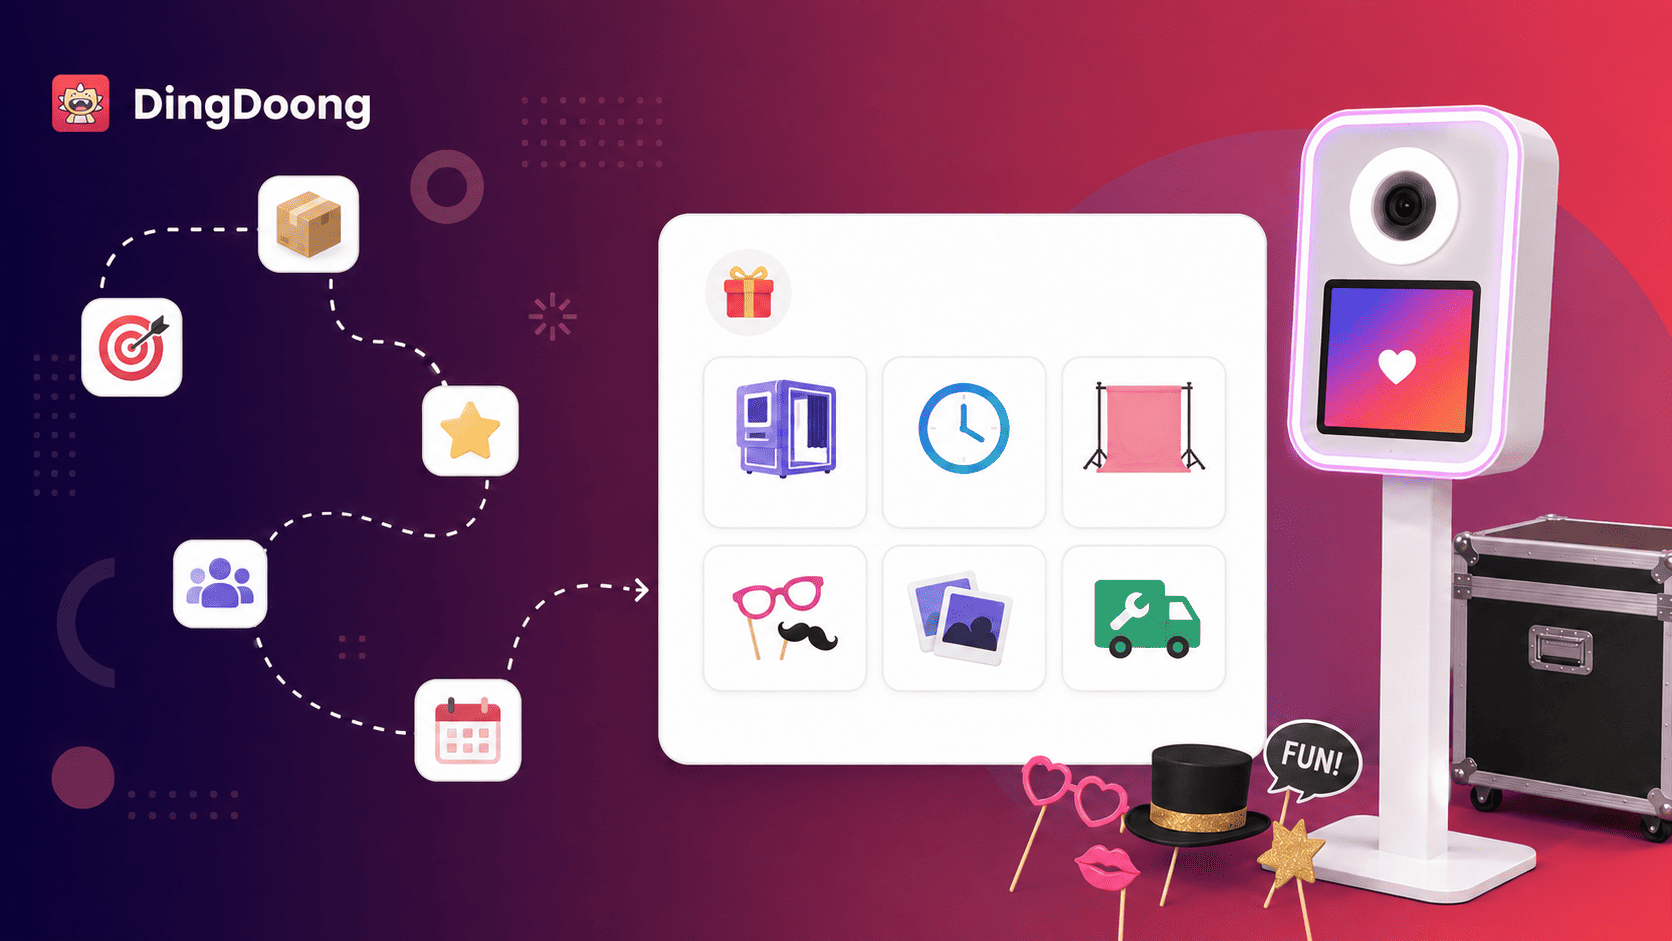
Most operators sell an event package for a fixed number of service hours. The price may include delivery, setup, a backdrop, custom photo design, an attendant, digital sharing, prints, and teardown.
Extra revenue can come from:
- Additional event hours
- Premium or custom backdrops
- Unlimited prints or extra print copies
- Guest books and memory albums
- Branded screens and photo overlays
- A roaming booth or second station
- Custom props or signs
- Travel outside the normal service area
- Idle time between setup and the start of service
This is a service business with equipment inside it. Clients are paying for a smooth event, not access to a camera. Fast replies, punctual setup, clean design, helpful attendants, and dependable backups often matter as much as image quality.
Choose The Right Photo Booth Format
The first equipment decision shapes the budget, target customer, transport needs, and price range. Start with one format that suits a clear market instead of buying several booths at once.
| Booth type | Best fit | Main advantage | Main trade-off |
| iPad or digital booth | Parties, weddings, drop-off rentals | Light, quick to set up, easy digital sharing | Lower image control than a camera-based booth |
| DSLR or mirrorless booth | Weddings and premium events | Better image quality and lighting control | More equipment, setup time, and technical risk |
| 360 video booth | Social events and brand activations | Eye-catching motion content | More space, safety control, and guest guidance |
| Roaming booth | Large venues and busy receptions | Goes to guests instead of forming one line | Harder to leave unattended |
| Enclosed booth | Retro experiences and privacy | Distinct experience and controlled background | Bulky transport and slower setup |
An iPad booth can be a practical first product when easy transport and digital delivery matter most. A DSLR or mirrorless setup makes more sense when clients expect studio-style photos and printed output. A 360 booth should have clear platform limits, safe cable placement, and an attendant who controls entry and exit.
Before buying, compare the full workflow. A booth that looks affordable may still need a tablet, camera, lens, computer, printer, software, lighting, hotspot, cases, and spare parts.
How Much Does It Cost To Start A Photo Booth Rental Business?
There is no single startup figure. A digital booth built around equipment already owned costs far less than a complete printed booth or 360 setup.
The table below is a planning example, not a list of market averages or supplier quotes. Replace every amount with current prices from at least three suppliers.
| Startup item | Lean digital setup | Printed or premium setup |
| Booth, stand, or enclosure | $1,000–$2,500 | $2,000–$6,000 |
| Capture device and lighting | $500–$1,500 | $1,000–$3,000 |
| Printer, print connection, and starter media | Not required | $1,000–$2,000 |
| Backdrop, stand, and props | $300–$800 | $500–$1,500 |
| Software for the first year | $200–$600 | $300–$1,000 |
| Cases, cables, power, and backups | $300–$800 | $600–$1,500 |
| Registration, insurance, site, and test events | $700–$2,000 | $1,000–$3,000 |
| Planning total | $3,000–$8,200 | $6,400–$18,000 |
Do not spend the full budget on the booth body. Set aside cash for insurance, software, card fees, sample events, repairs, ads, and print media. A spare cable or backup light may protect a booking better than a decorative upgrade.
How To Start A Photo Booth Rental Business In 10 Steps
Step 1: Validate one local customer segment
Start with a service area that can be reached without making travel unprofitable. Search for photo booth providers, wedding venues, event planners, DJs, school-event suppliers, and company event agencies in that area.
Build a simple competitor sheet with 10 to 15 businesses. Record booth type, package length, starting price, print options, travel limits, reviews, booking flow, and visible weaknesses. The goal isn’t to copy their packages. It is to find a gap.
A gap might be a modern digital drop-off booth for smaller parties, a premium printed booth for weddings, or branded data-capture experiences for company events. Pick one main segment first. Its needs should guide the booth, portfolio, package names, and sales message.
Step 2: Define the offer before buying equipment
Write the customer promise in one sentence. For example: “A clean, modern digital booth for weddings with custom overlays, instant sharing, and full setup included.”
Then define what the basic package includes:
- Booth type and service hours
- Delivery and setup area
- Attendant or drop-off service
- Digital gallery, sharing, or prints
- Backdrop and props
- Custom template or overlay
- Setup and teardown time
- Support before and during the event
This prevents impulse purchases. Every item on the shopping list should support the package customers will buy.
Step 3: Build a break-even plan
List one-time startup costs and monthly fixed costs. Then estimate the direct cost of one event, including labor before and after the event.
Use this formula:
Break-even bookings = total startup cost ÷ contribution per booking
If the startup cost is $7,500, the average booking price is $1,000, and direct event costs are $350, the contribution is $650. The business would need about 12 similar bookings to recover the startup cost before tax.
This isn’t a profit promise. A cancelled event, repair, slow season, or higher ad cost will change the result. Run a cautious case with fewer bookings and higher costs before taking on debt.
Step 4: Register the business and control risk
Choose a legal structure, register the name, open a separate bank account, and check tax, permit, and licensing rules. In the U.S., the Small Business Administration’s launch guide explains that structure affects taxes, paperwork, funding, and personal liability. Rules differ by state, county, city, and country, so confirm them locally.
Ask an insurance professional about general liability, equipment or commercial property coverage, commercial auto use, and workers’ compensation when staff are hired. Some venues require a certificate of insurance before vendors may enter.
Use a written service agreement for every booking. It should cover:
- Event date, venue, access time, and service hours
- Space, power, shelter, Wi-Fi, parking, and loading access
- Package contents and image delivery
- Retainer, payment schedule, tax, and overtime
- Cancellation, rescheduling, and force majeure
- Guest behavior, equipment damage, and safe operation
- Model releases, image use, gallery privacy, and data collection
- Equipment failure, backup service, and limits of liability
Have a qualified local attorney review the agreement. A template can help organize topics, but it may not match local law or the actual service.
Step 5: Buy equipment as one tested system
Create a full equipment map before placing orders. At minimum, most setups need a booth or stand, capture device, lighting, control software, power, cables, transport cases, and a backdrop system.
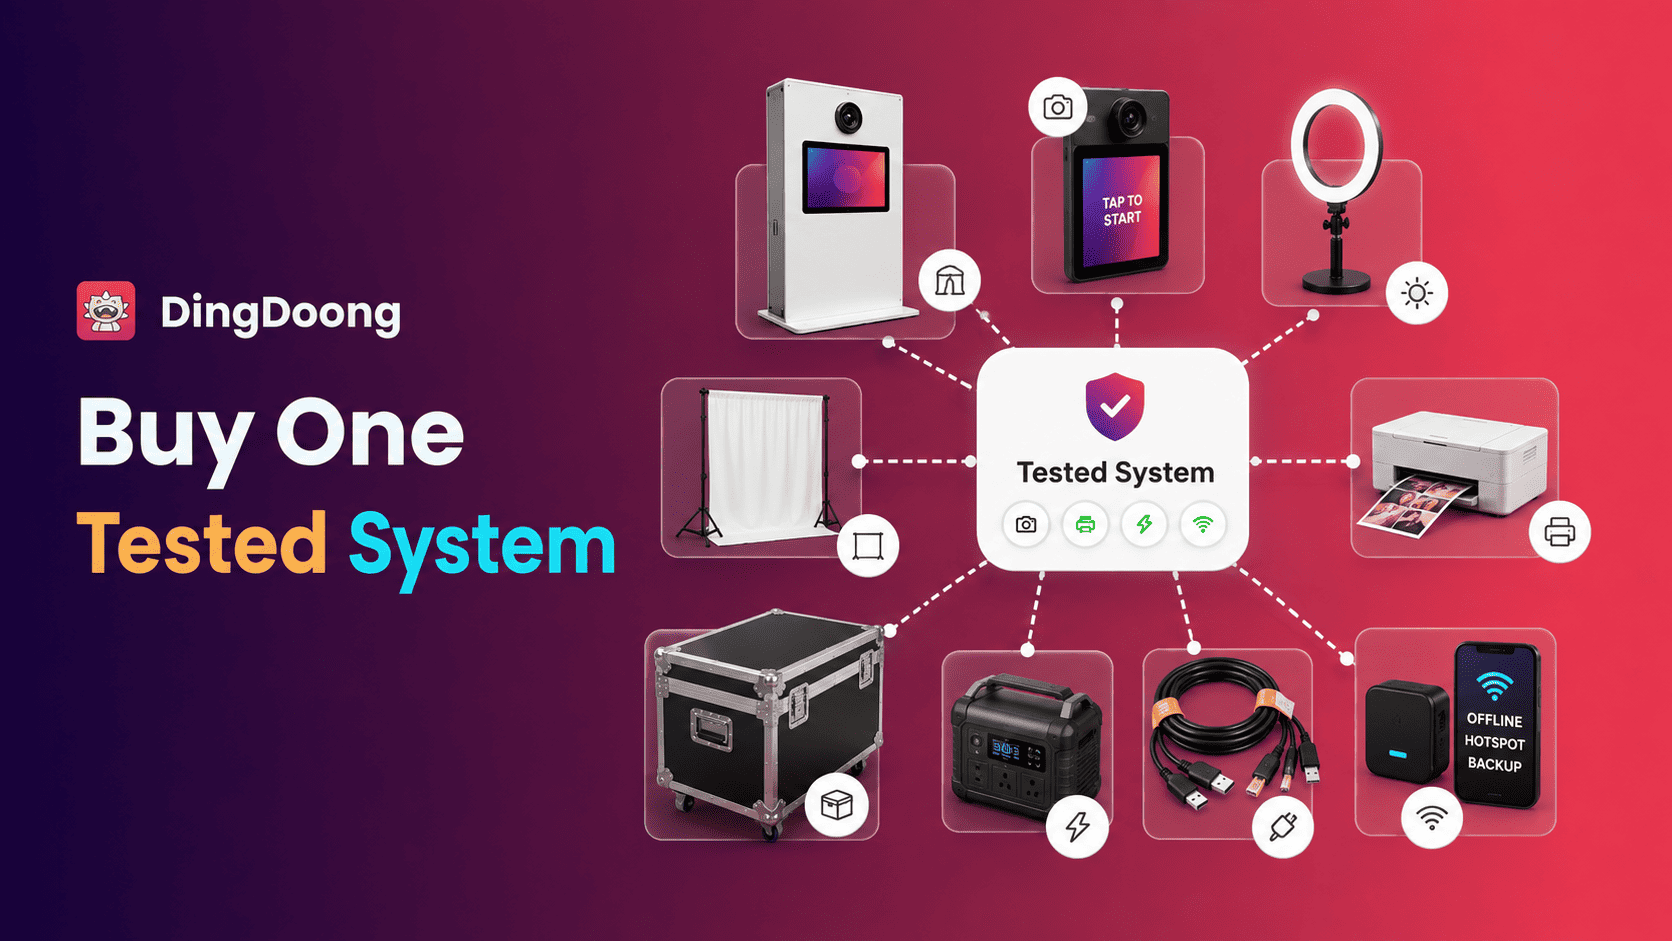
Printing adds more failure points. Confirm that the booth software, operating device, printer, print server, media size, and cutting format work together. Test the system without venue Wi-Fi because event networks can be crowded or unavailable.
Prepare backups for the parts most likely to stop service:
- Power and charging cables
- USB and camera cables
- Extension cord and safe cable covers
- Flash or continuous light
- Print media and paper tray
- Hotspot or offline sharing process
- Tablet, camera, or control computer when the budget allows
Label every case and use a packing checklist. A missing adapter can stop a paid event even when the booth itself works.
Step 6: Create packages from cost, not guesswork
Competitor prices help show the local range, but they do not reveal another company’s costs. Set a minimum price from the resources each booking consumes.
Use this formula:
| Minimum event price = event cost ÷ (1 − target operating margin) |
Suppose an event uses $240 of labor, $90 of travel and parking, $75 of print media, $45 of variable software and payment costs, and $150 for overhead and equipment reserve. Total event cost is $600. With a 40% target operating margin, the minimum price would be $1,000: $600 ÷ 0.60.
Build three packages only when each one serves a clear need. A simple structure could be digital, printed, and premium branded. Keep the middle option easy to compare. Charge separately for travel beyond the base area, extra hours, special backdrops, and other work that increases cost.
Step 7: Build a booking flow that protects each date
A social media message is useful for an inquiry, but it is a weak booking system. The business needs one process for availability, package selection, event details, contract acceptance, payment, reminders, and status updates.
Step 8: Run test events before taking full-price work
Create two or three realistic test events. One should use a weak or no internet. Another should include printing, repeated guest use, low light, and a full teardown.
Time every task:
- Load the vehicle.
- Travel and find parking.
- Move equipment into the venue.
- Assemble and test the booth.
- Run guest sessions.
- Replace media or fix a connection.
- Pack, travel back, and upload files.
Record the total labor, not only the advertised service hours. A three-hour package may consume seven or eight hours after preparation, travel, setup, and delivery are included.
Use test images to build the first portfolio, but obtain clear permission from everyone shown. Do not present a styled shoot as a paid client event.
Step 9: Market where event decisions happen
Start with proof, not a large ad budget. The site should show the booth in a real space, sample output, package contents, service area, space needs, and a clear inquiry or booking action.
Create a Google Business Profile when eligible and collect honest reviews after each event. Publish local pages only for areas the business truly serves. Each page should offer useful details, such as travel policy, venue access, or the types of events available there.
Partnerships can create warmer leads than broad advertising. Build relationships with:
- Wedding and event planners
- DJs and entertainment companies
- Venues and hotels
- Photographers and videographers
- Balloon, décor, and rental companies
- Schools, charities, and company event teams
Offer a small demonstration at an industry open house or venue showcase. Bring a one-page partner guide with package range, setup needs, insurance status, contact details, and referral process.
Step 10: Measure each booking and scale carefully
Track the numbers by event type and package:
- Inquiry source
- Inquiry-to-booking rate
- Average booking value
- Direct event cost
- Contribution per booking
- Total labor hours
- Travel time and distance
- Add-on sales
- Equipment failures or support issues
- Review and referral rate
These figures show whether a popular package is actually useful. A high-price event may produce weak profit when it requires long travel, custom design, extra staff, and heavy printing.
Add another booth only when the first system has repeatable demand and documented steps. The second unit also needs storage, insurance, transport, backup equipment, trained staff, and enough bookings to justify the investment.
How To Manage Photo Booth Bookings Without Spreadsheet Conflicts
Booking problems begin when dates are spread across messages, forms, emails, and spreadsheets. An inquiry may be mistaken for a confirmed booking, two customers may request the same date, or a drop-off booth may return too late for the next event.
This confusion can leave equipment idle or create rushed setups. It also makes it harder to reserve time for travel, installation, teardown, maintenance, and equipment checks.
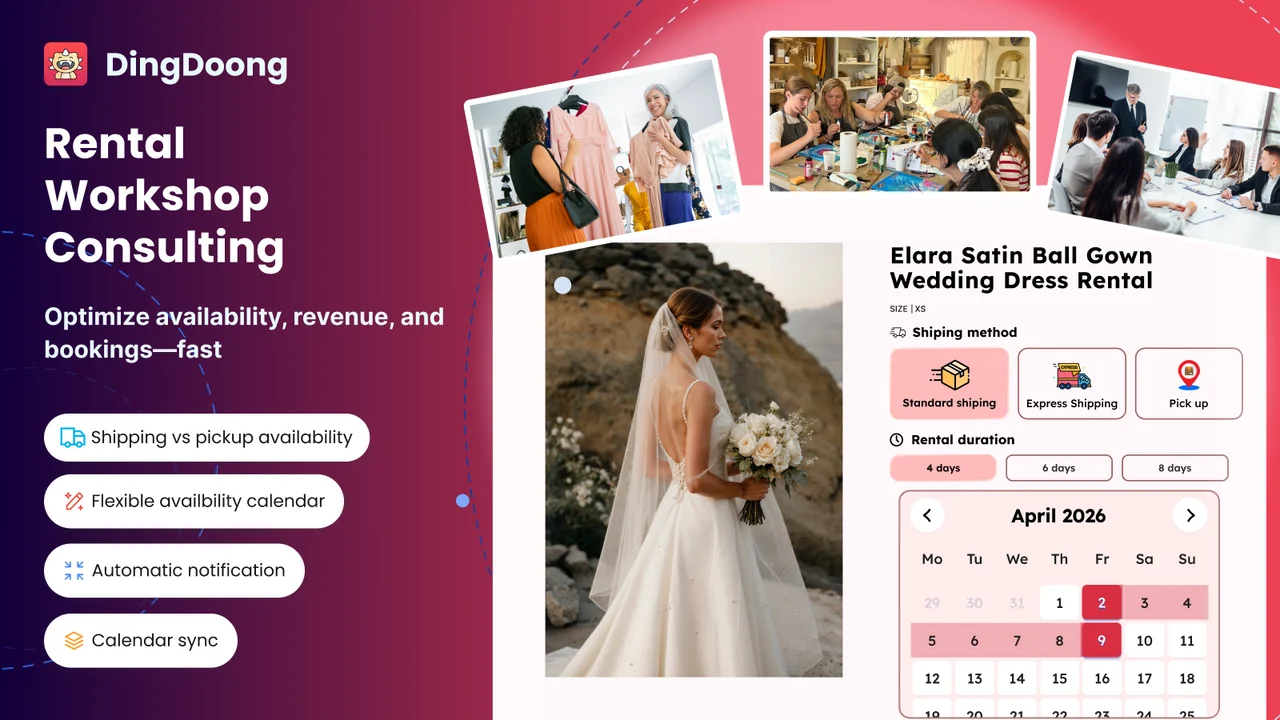
Shopify merchants can manage these steps with DingDoong Appointment Booking App. The app turns Shopify products into bookable photo booth packages and is currently listed as Free on the Shopify App Store.
Customers can book through an on-page calendar or popup without leaving the product page. Merchants can customize the widget to match the store and set available dates, time slots, capacity limits, blocked dates, lead time, booking cutoffs, and buffer time between events.
Different booking types also fit different photo booth services:
- Time slots for staffed booths booked for specific event hours
- Single-day booking for one-day rentals
- Multiple-day booking for drop-off booths, exhibitions, or longer events
The app can show available pickup or shipping methods during booking. It also supports fixed or percentage deposits and promotes customizable add-ons, which can help merchants present options such as additional hours, premium backdrops, extra prints, or guest books.
Automated emails can confirm, remind, reschedule, cancel, or complete bookings. The Booking Manager then helps merchants track each order from confirmation and preparation to use, return, and completion. For drop-off booths, the actual return time can be recorded to show whether equipment came back on time or late.
Booking reports, dashboard metrics, and import/export tools keep records in one place. This gives a photo booth business a clearer view of availability, customer details, payments, fulfillment, and returns without relying on several disconnected spreadsheets.
Common Mistakes When Starting A Photo Booth Rental Business
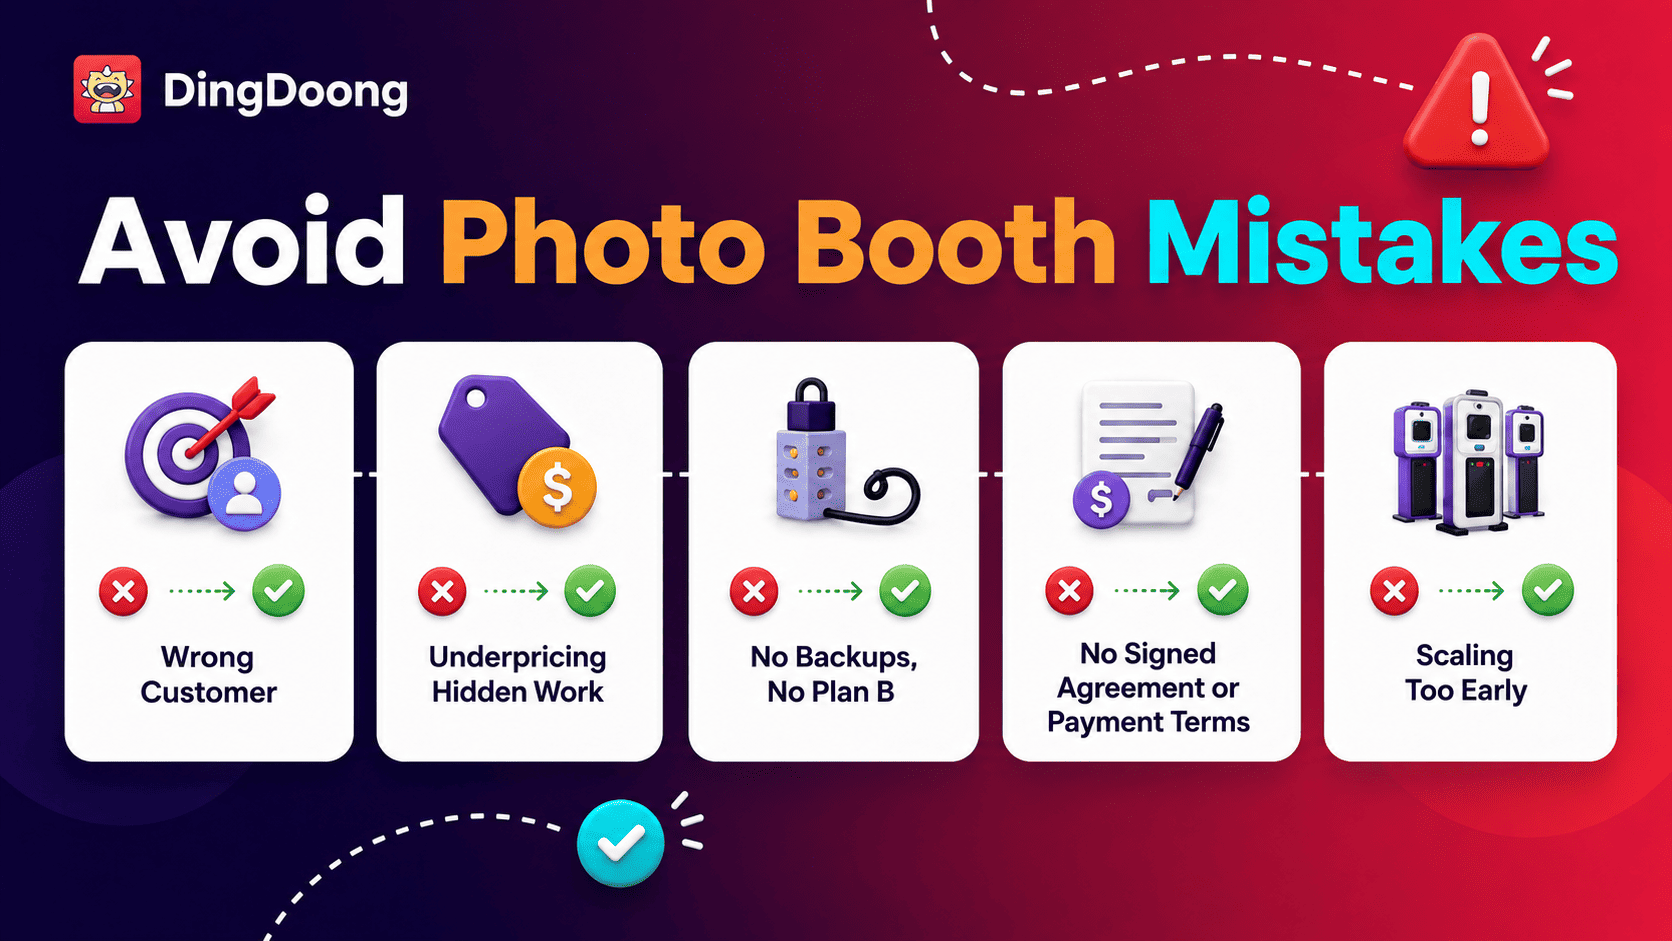
The first mistake is buying a booth before choosing a customer. Expensive equipment does not fix weak demand or an unclear offer.
The second is pricing only the hours guests see. Preparation, sales calls, design, travel, setup, teardown, file delivery, and equipment wear all belong in the cost.
The third is operating without backups. Cables, power, software, printers, and networks can fail. Test an offline plan and define what the client receives if one feature stops working.
The fourth is accepting dates without a signed agreement and required payment. A clear booking rule protects cash flow and prevents informal holds from blocking strong leads.
The fifth is scaling too early. More booths create more storage, maintenance, staffing, and scheduling work. Improve booking volume and the event checklist before adding inventory.
Photo Booth Rental Business Frequently Asked Questions
How much can a photo booth rental business make?
Revenue depends on event price and booking volume. Profit depends on direct costs, overhead, taxes, and equipment replacement. Calculate contribution per booking and avoid using another operator’s revenue as a forecast.
Can this business start as a side job?
Yes, especially when the target market books evenings and weekends. The schedule still needs room for sales, design, maintenance, packing, and gallery delivery during the week.
Is a DSLR required?
No. An iPad booth can suit digital sharing, simple drop-off service, and fast setup. A DSLR or mirrorless booth is stronger when premium image control and printed output support the chosen market.
Should every package include an attendant?
Not always. A trained attendant fits weddings, printing, 360 booths, and busy events. A tested digital booth may support drop-off service, but the contract must explain setup, support, damage, pickup, and return responsibilities.
Final Words
Starting a photo booth rental business becomes easier when each choice supports the same customer. Choose one booth format, price the full workload, protect every booking with a contract, and test the event process before scaling.
The first goal is not a large inventory. It is a booth that works, a package people understand, and a booking system that keeps each event profitable and organized. Once those parts are repeatable, stronger marketing and additional equipment have a solid base.
Try DingDoong Free
Add a date picker to your Shopify checkout today — no developer needed.
Start free trial →